DIY Concrete Floor Preparation Mistakes That Ruin Professional Coating Results
When it comes to concrete floor coatings, the preparation phase is where professional results are won or lost.
Many homeowners and DIY enthusiasts underestimate the critical importance of proper concrete preparation, leading to disappointing outcomes despite using high-quality coating products.
DIY concrete floor preparation mistakes that ruin professional coating results are alarmingly common, but with the right knowledge, they can be avoided.
This comprehensive guide will walk you through the most devastating preparation errors, provide essential techniques for proper preparation, and help you understand when it’s time to call in professionals like Grizzly Concrete Coatings to ensure your flooring project succeeds.
Whether you’re planning to coat your garage, basement, or commercial space, understanding these preparation pitfalls will save you time, money, and frustration.
The Critical Importance of Proper Concrete Preparation
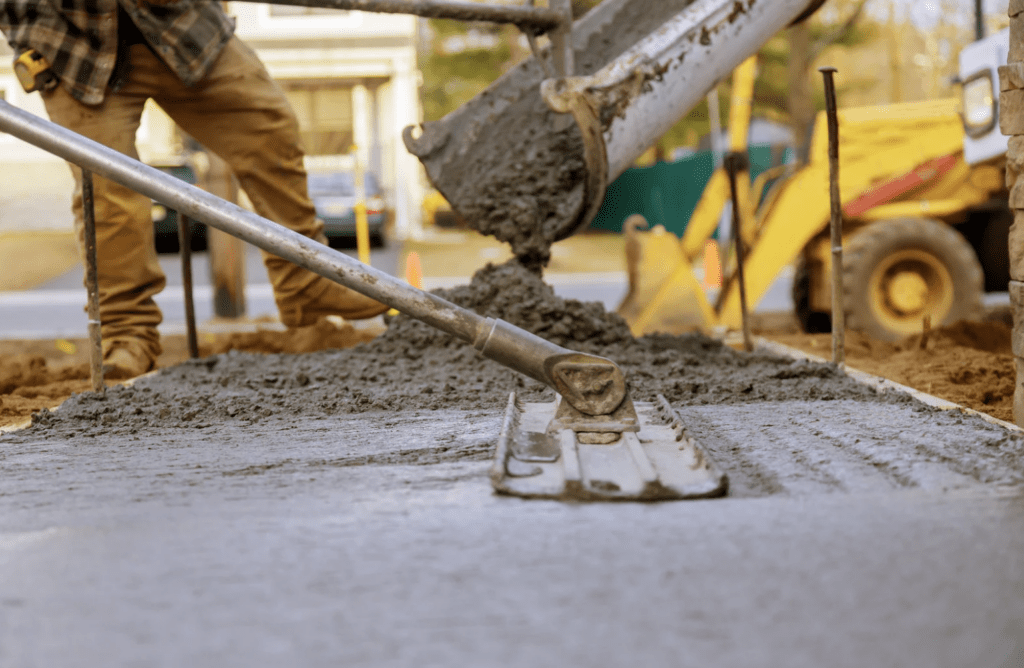
Concrete floor preparation isn’t just a preliminary step—it’s the foundation that determines the longevity, appearance, and performance of your coating system.
According to industry data from 2024, over 80% of coating failures can be directly traced back to inadequate surface preparation.
When coating manufacturers examine warranty claims, improper preparation consistently ranks as the number one reason for premature coating failure.
The quality of your concrete coating is only as good as the preparation beneath it. No amount of premium coating material can compensate for poor surface preparation.
Proper preparation creates the optimal surface profile and conditions for coating adhesion. Without it, even the most expensive coating systems will fail prematurely through delamination, bubbling, or peeling.
The concrete surface must be clean, properly profiled (textured), dry, and structurally sound before any coating is applied.
Many DIYers focus their research and budget on selecting the perfect coating while underestimating the equipment, techniques, and time required for proper preparation. This imbalance often leads to disappointing results and wasted investment.
Let’s examine the most common preparation mistakes that compromise professional-quality results.
7 Devastating DIY Concrete Preparation Mistakes
Understanding these critical errors will help you avoid the most common pitfalls that lead to coating failures. Each mistake represents a different aspect of the preparation process that requires careful attention.
Inadequate Surface Cleaning and Degreasing
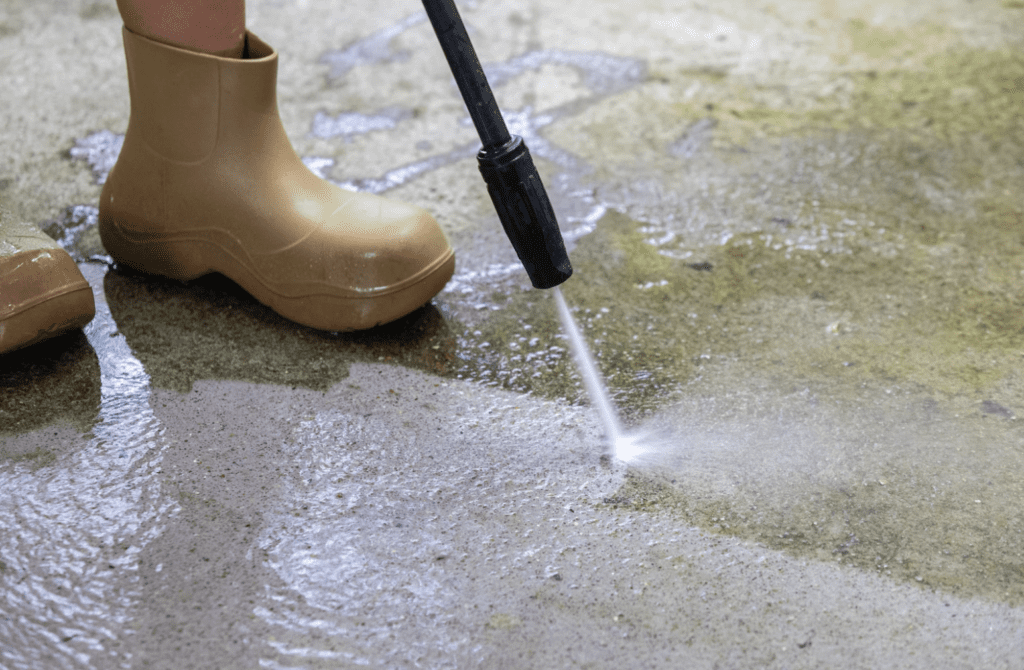
Perhaps the most fundamental preparation mistake is failing to thoroughly clean the concrete surface.
Many DIYers underestimate just how clean concrete must be before coating. Oil stains, tire marks, paint splatters, and even invisible contaminants can prevent proper adhesion.
Standard household cleaners are typically insufficient for properly preparing concrete. Oil and grease penetrate deeply into concrete’s porous surface, requiring specialized degreasers and multiple cleaning sessions.
According to concrete industry standards, oil-contaminated areas may need to be treated up to three times with commercial-grade degreasers to ensure complete removal.
Another common error is failing to remove all cleaning residue after degreasing.
Any remaining cleaning agents can interfere with coating adhesion just as much as the original contaminants. Thorough rinsing and sufficient drying time are essential steps that shouldn’t be rushed.
For heavily soiled garage floors, professional concrete coating services often use specialized equipment and industrial-strength cleaners that aren’t readily available to homeowners. This level of cleaning is particularly important for areas with automotive fluids or chemical spills.
Improper Moisture Testing (Or Skipping It Entirely)
Moisture issues represent one of the most destructive forces affecting concrete coatings.
A 2023 industry study found that moisture-related failures account for approximately 35% of all coating problems. Despite this, many DIYers completely skip moisture testing or perform inadequate tests.
The plastic sheet test (taping plastic to the floor and checking for condensation) is popular among DIYers but provides only surface-level information.
Professional standards require more accurate methods such as calcium chloride testing or relative humidity testing with in-situ probes, which measure moisture movement through the concrete.
Concrete slabs can appear completely dry on the surface while harboring significant moisture beneath.
This is especially true for slabs on grade or below grade, where groundwater can create hydrostatic pressure that pushes moisture upward. Without proper testing, this hidden moisture can cause coating delamination within weeks or months after application.
Even concrete that has been cured for years can develop moisture problems due to changing environmental conditions or damaged vapor barriers.
Before applying any coating to concrete driveways or garage floors, proper moisture testing is absolutely essential.
Neglecting Proper Concrete Profiling
Concrete profiling—creating the proper surface texture for coating adhesion—is frequently misunderstood or improperly executed by DIYers.
Many believe that a simple acid etch is sufficient for all applications, but this is often inadequate, especially for high-performance coating systems.
The Concrete Surface Profile (CSP) scale, developed by the International Concrete Repair Institute, ranges from CSP 1 (nearly smooth) to CSP 10 (extremely rough). Different coating systems require specific profile levels for optimal adhesion.
Epoxy coatings typically require a CSP of 2-3, while polyaspartic and polyurea systems may need a CSP of 3-4.
DIYers often fail to achieve the proper profile because they:
- Use acids that are too diluted or don’t leave them on long enough
- Don’t thoroughly rinse after acid etching, leaving residue that prevents adhesion
- Attempt to etch dense, power-troweled, or previously sealed concrete that resists chemical profiling
Professional contractors use mechanical methods such as diamond grinding or shot blasting to achieve consistent, appropriate profiles.
These methods not only create the ideal texture but also remove surface contaminants and weak concrete in one step.
For commercial concrete floors, mechanical profiling is almost always required due to the higher performance demands.
Insufficient Crack and Spall Repair
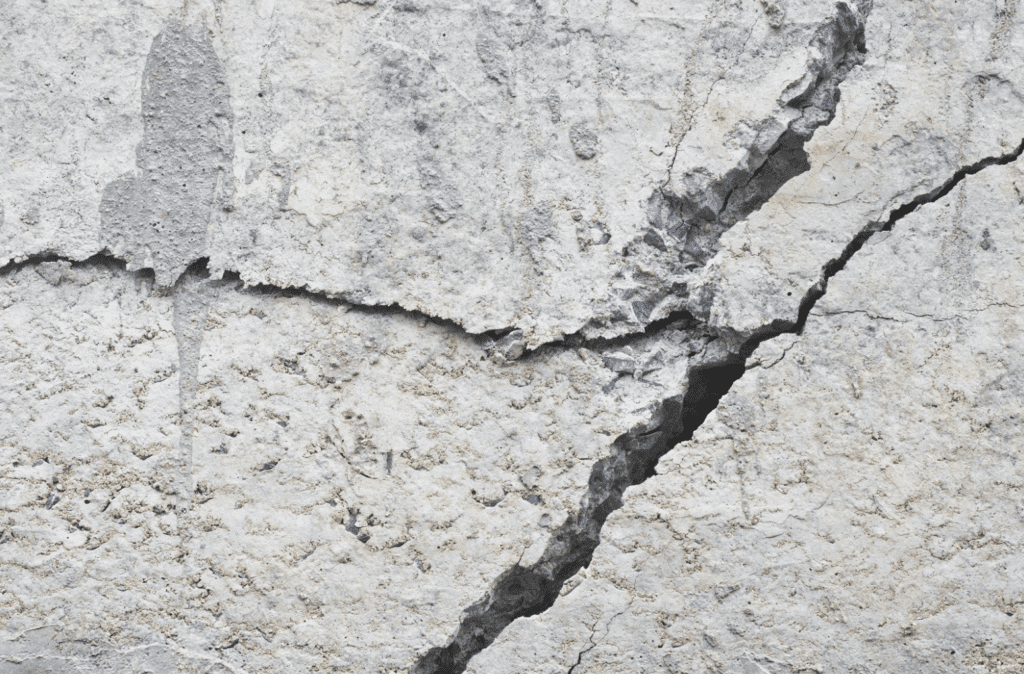
Cracks, spalls, and surface defects require proper repair before coating application.
A common DIY mistake is using inappropriate materials for these repairs or applying coatings directly over damaged areas.
Standard concrete patching compounds often aren’t compatible with high-performance coatings and may fail prematurely.
Specialized epoxy or polyurea repair materials designed specifically for use under coatings provide the necessary strength and adhesion properties.
Another critical error is failing to properly prepare the cracks and spalls before filling them.
Cracks must be chased (widened and deepened) to create a proper channel for repair materials.
Simply filling a narrow crack without proper preparation almost guarantees failure as the crack continues to move with temperature changes and concrete shifting.
For patio concrete coatings and other outdoor applications, proper crack repair becomes even more critical due to freeze-thaw cycles and greater temperature fluctuations. Outdoor concrete typically requires more extensive preparation and specialized repair materials to accommodate movement.
Ignoring pH Levels of Concrete
The pH level of concrete significantly impacts coating adhesion, yet it’s a factor rarely considered by DIYers.
New concrete is highly alkaline, with pH levels often exceeding 12, which can prevent proper curing of many coating systems.
Most coating manufacturers specify that concrete should have a pH between 7 and 10 for optimal results.
Newly poured concrete may need to cure for 28-60 days before reaching acceptable pH levels.
Even older concrete that has been acid-etched can have pH issues if not properly neutralized and rinsed.
Testing concrete pH is simple with test strips, but few DIYers include this step in their preparation process.
This oversight can lead to coating failures that appear mysterious but are directly related to chemical incompatibility between the coating and the concrete substrate.
For concrete pool deck coatings, pH testing is particularly important due to the constant exposure to pool chemicals and water, which can alter surface chemistry over time.
Poor Environmental Control During Preparation
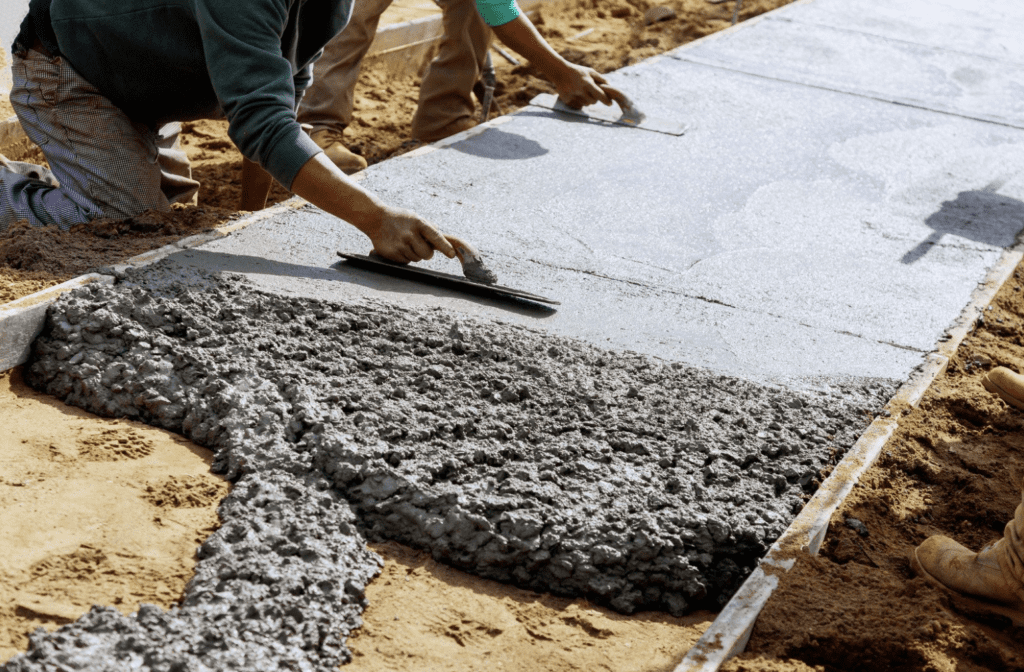
Environmental factors significantly impact concrete preparation and coating application, yet they’re often overlooked in DIY projects.
Temperature, humidity, and dew point all affect how concrete accepts preparation treatments and how coatings cure.
Common environmental control mistakes include:
- Attempting acid etching when temperatures are too low (below 50°F/10°C)
- Preparing surfaces during high humidity conditions that prevent proper drying
- Failing to control dust during mechanical preparation
- Not allowing sufficient acclimation time when indoor and outdoor temperatures differ significantly
Professional contractors carefully monitor environmental conditions and often use temporary climate control systems for optimal results.
They schedule work during appropriate weather windows and understand how environmental factors affect each preparation step.
For concrete entryway coatings, which bridge indoor and outdoor environments, understanding these factors becomes even more critical to ensure proper preparation and coating performance.
Rushing the Preparation Timeline
Perhaps the most pervasive DIY mistake is underestimating the time required for proper concrete preparation.
Many homeowners allocate a single weekend for a project that realistically requires several days of preparation alone.
Proper concrete preparation typically includes:
- Initial cleaning and degreasing (1 day)
- Moisture testing (1-3 days depending on method)
- Mechanical or chemical profiling (1 day)
- Crack and spall repair (1 day plus curing time)
- Final cleaning and surface verification (1 day)
Rushing any of these steps compromises results.
For example, applying coatings before repair materials have fully cured can lead to coating failures.
Similarly, not allowing sufficient drying time after cleaning or profiling can trap moisture under the coating.
Professional concrete coating contractors understand these timelines and build appropriate scheduling into their project plans. They recognize that proper preparation cannot be rushed without sacrificing quality.
Essential Tools for Professional-Grade Concrete Preparation
Having the right tools makes proper concrete preparation possible. Many DIYers attempt to prepare concrete with inadequate equipment, leading to suboptimal results.
Professional-grade preparation requires specialized tools that may be rented if not purchased.
For thorough cleaning, commercial-grade pressure washers with at least 3000 PSI are typically required.
Standard household pressure washers often lack sufficient power to remove embedded contaminants.
Additionally, specialized concrete degreasers and cleaners formulated for specific contaminants yield better results than general-purpose cleaners.
For proper profiling, professionals use:
- Diamond grinders with appropriate diamond tooling
- Shot blasters for larger areas
- Concrete scarifiers for heavy removal or severe contamination
- Professional-grade acid etching solutions (when mechanical methods aren’t feasible)
Moisture testing equipment is equally important:
- Calcium chloride test kits for MVER (moisture vapor emission rate)
- Relative humidity meters with in-situ probes
- Surface moisture meters for preliminary assessment
For crack and spall repair, specialized tools include:
- Concrete crack chasers (angle grinders with diamond crack-chasing blades)
- Proper mixing equipment for two-component repair materials
- Trowels and finishing tools designed for concrete repair
While the investment in these tools may seem substantial for a one-time project, professional coating services already possess this equipment and the expertise to use it effectively, often making professional installation more economical than DIY for many homeowners.
Step-by-Step Guide to Proper Concrete Floor Preparation
For those determined to achieve professional results with DIY preparation, following this systematic approach will help avoid the most common pitfalls:
- Start with thorough inspection and documentation. Photograph and mark all cracks, spalls, and problem areas. Test for existing sealers by dripping water on the surface—if it beads up rather than absorbing, a sealer is present that must be removed.
- Next, conduct proper moisture testing using calcium chloride tests or relative humidity probes. Place tests in multiple locations, especially in areas with suspected moisture issues. Allow the full testing period (typically 72 hours) before proceeding.
- For cleaning and degreasing, start with dry cleaning to remove loose debris, then apply appropriate degreasers to oil-stained areas.
- Allow sufficient dwell time before scrubbing with stiff brushes. Rinse thoroughly and repeat as necessary until contaminants are completely removed.
- The profiling stage should match the coating system requirements. For most residential epoxy applications, a CSP 2-3 is appropriate, achieved through diamond grinding or thorough acid etching.
- For sidewalk concrete coatings and other exterior applications, slightly more aggressive profiling may be necessary due to exposure conditions.
- After profiling, repair all cracks and surface defects using appropriate materials. Chase cracks to create proper channels, vacuum thoroughly, and apply specialized repair products. Allow full cure time according to manufacturer specifications before proceeding.
- Finally, perform a thorough final cleaning to remove all dust and residue.
- Vacuum with a HEPA-filtered vacuum, followed by solvent wipe or microfiber tack cloth to remove fine particles. Test pH levels and verify surface readiness before proceeding to coating application.
How to Test If Your Floor Is Actually Ready for Coating
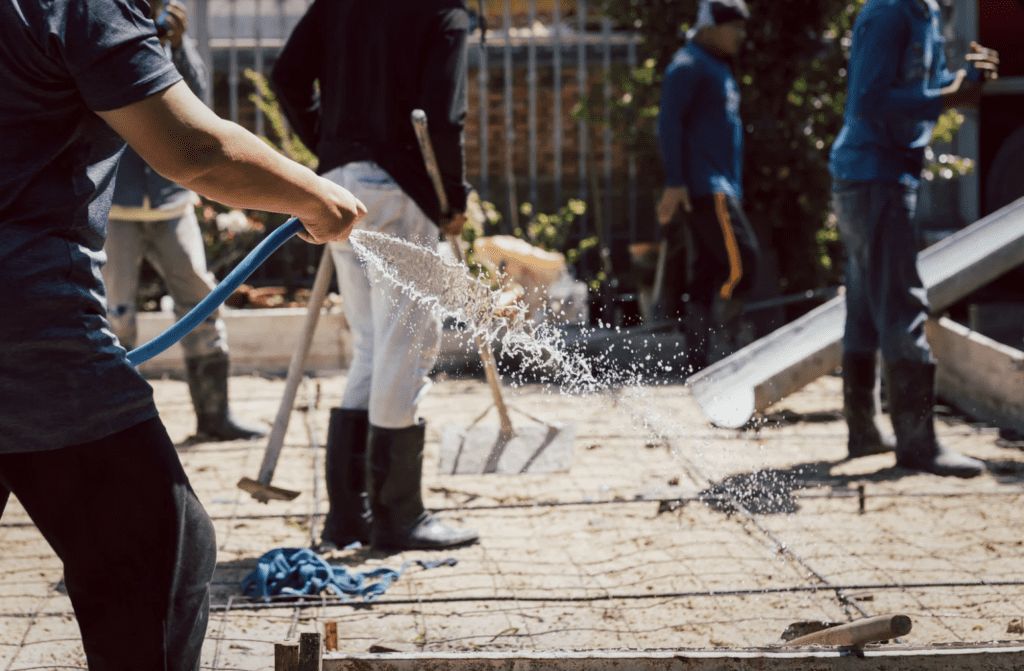
Before applying any coating, verify that your preparation has been successful. Professional contractors use several tests to confirm surface readiness:
The water drop test is a simple first check—sprinkle water on the prepared surface. It should immediately absorb into the concrete rather than beading up. If water beads, the surface still has contaminants or sealers that will prevent coating adhesion.
The tape test helps verify proper profile and cleanliness. Press a piece of clear packing tape firmly onto the prepared surface, then remove it quickly. The tape should show a light dusting of concrete powder but no significant debris. Excessive dust indicates insufficient cleaning, while no dust may indicate inadequate profile.
For moisture verification, plastic sheet tests or electronic moisture meters can provide final confirmation that moisture levels are acceptable.
Remember that different coating systems have different moisture tolerance levels, so consult your specific coating manufacturer’s requirements.
pH testing strips should show readings within the acceptable range for your coating system (typically 7-10). If pH levels are outside this range, additional rinsing or neutralizing may be required.
Finally, perform a small test patch of your coating system in an inconspicuous area. Allow it to cure fully, then test adhesion by attempting to scrape it with a sharp tool. Proper adhesion should make the coating difficult to remove without taking concrete with it.
When to Call a Professional: Signs Your DIY Project Needs Help
Recognizing when a project exceeds DIY capabilities is crucial for avoiding costly mistakes. Several situations clearly indicate the need for professional assistance:
If moisture testing reveals high moisture vapor emission rates (above 3-5 pounds per 1,000 square feet per 24 hours), specialized moisture mitigation systems may be required.
These systems are typically beyond DIY capability and require professional installation.
Extensive surface damage, including widespread spalling, deep cracks, or structural issues, often necessitates professional repair before coating. Professional concrete coating services have the equipment and materials to address these issues effectively.
Previous coating failures present special challenges. If you’re dealing with a floor that has already experienced a failed coating attempt, professional removal and preparation are typically required to ensure success with the new application.
Concrete with unknown contaminants or treatments may require specialized testing and preparation techniques. This is common in industrial settings or older buildings where concrete may have been exposed to chemicals or treatments that affect coating adhesion.
Time constraints also make professional services attractive.
While DIY preparation typically requires several days of work spread over 1-2 weeks, professional teams can often complete preparation in 1-2 days with superior results due to their specialized equipment and expertise.
Cost Comparison: DIY Mistakes vs. Professional Preparation
When evaluating DIY versus professional preparation, consider both initial and long-term costs.
The true cost of DIY preparation includes:
- Equipment rental or purchase (grinders, shot blasters, etc.): $200-$500 per day
- Specialized cleaning and preparation materials: $100-$300
- Testing equipment: $50-$200
- Repair materials: $100-$500 depending on extent of damage
- Personal protective equipment: $50-$100
- Your time: Typically 20-40 hours for proper preparation
Additionally, consider the cost of failure. When DIY preparation leads to coating failure, the entire process must be repeated, often with added costs for coating removal.
A failed 500 square foot garage floor project can easily result in $1,000-$2,000 in wasted materials and rental fees, plus the cost of professional remediation.
In contrast, professional preparation services from companies like Grizzly Concrete Coatings typically include:
- Professional-grade equipment and materials
- Experienced technicians who recognize and address issues early
- Proper testing and verification procedures
- Warranties that cover preparation-related failures
- Significantly faster completion timeframes
While professional preparation may have a higher initial cost, the long-term value often makes it the more economical choice, especially when factoring in the extended lifespan of properly prepared coatings.
Transform Your Concrete With Confidence
Avoiding DIY concrete floor preparation mistakes requires understanding, proper equipment, and patience.
By recognizing the critical importance of thorough cleaning, appropriate profiling, moisture testing, and proper repairs, you can significantly improve your chances of achieving professional-quality results.
Remember that proper preparation isn’t about cutting corners or finding shortcuts—it’s about creating the optimal foundation for your coating system to perform as designed.
When in doubt, consulting with Grizzly Concrete Coatings can help you determine whether your project is suitable for DIY preparation or would benefit from professional services.
Take the time to assess your project requirements honestly, including your available time, equipment access, and skill level.
For many homeowners, the peace of mind and guaranteed results that come with professional preparation make it the smarter investment.
Contact Grizzly Concrete Coatings today for a free consultation and discover how proper preparation can transform your concrete surfaces into beautiful, durable, and long-lasting floors you’ll enjoy for years to come.
About Grizzly Concrete Coatings
Grizzly Concrete Coatings is a premier provider of high-performance concrete coating solutions serving residential and commercial clients throughout Texas.
Specializing in garage floors, patios, pool decks, driveways, and commercial applications, our team brings decades of combined experience to every project.
We pride ourselves on meticulous preparation processes that ensure long-lasting, beautiful results.
Our certified technicians use only industrial-grade materials and equipment to deliver superior finishes that stand the test of time.
For a free consultation or to learn more about our services, visit our website or contact our team directly.


No responses yet